Tips for Rutted-Up Blind Tower Assembly

20 Tips For Successful Hard-Sided Blind Hunting
November 27, 2024
Are Elevated Blinds Better?
May 16, 2025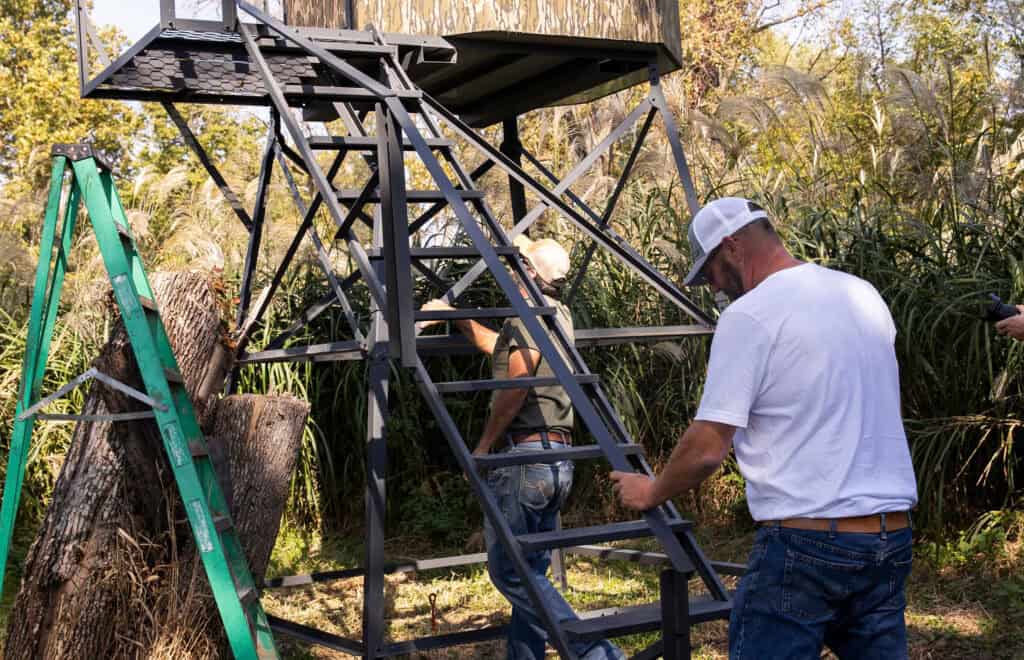
Safety First
Before you even crack open a box or grab a wrench, take a minute to read the safety warnings in the Rutted-Up Blinds Owner’s Manual. Elevated blinds carry real risk if not assembled and anchored properly. Falls, dropping components, structural instability, and poor anchoring can all be life-threatening. Assemble your blind tower in good weather; never in windy or wet conditions.
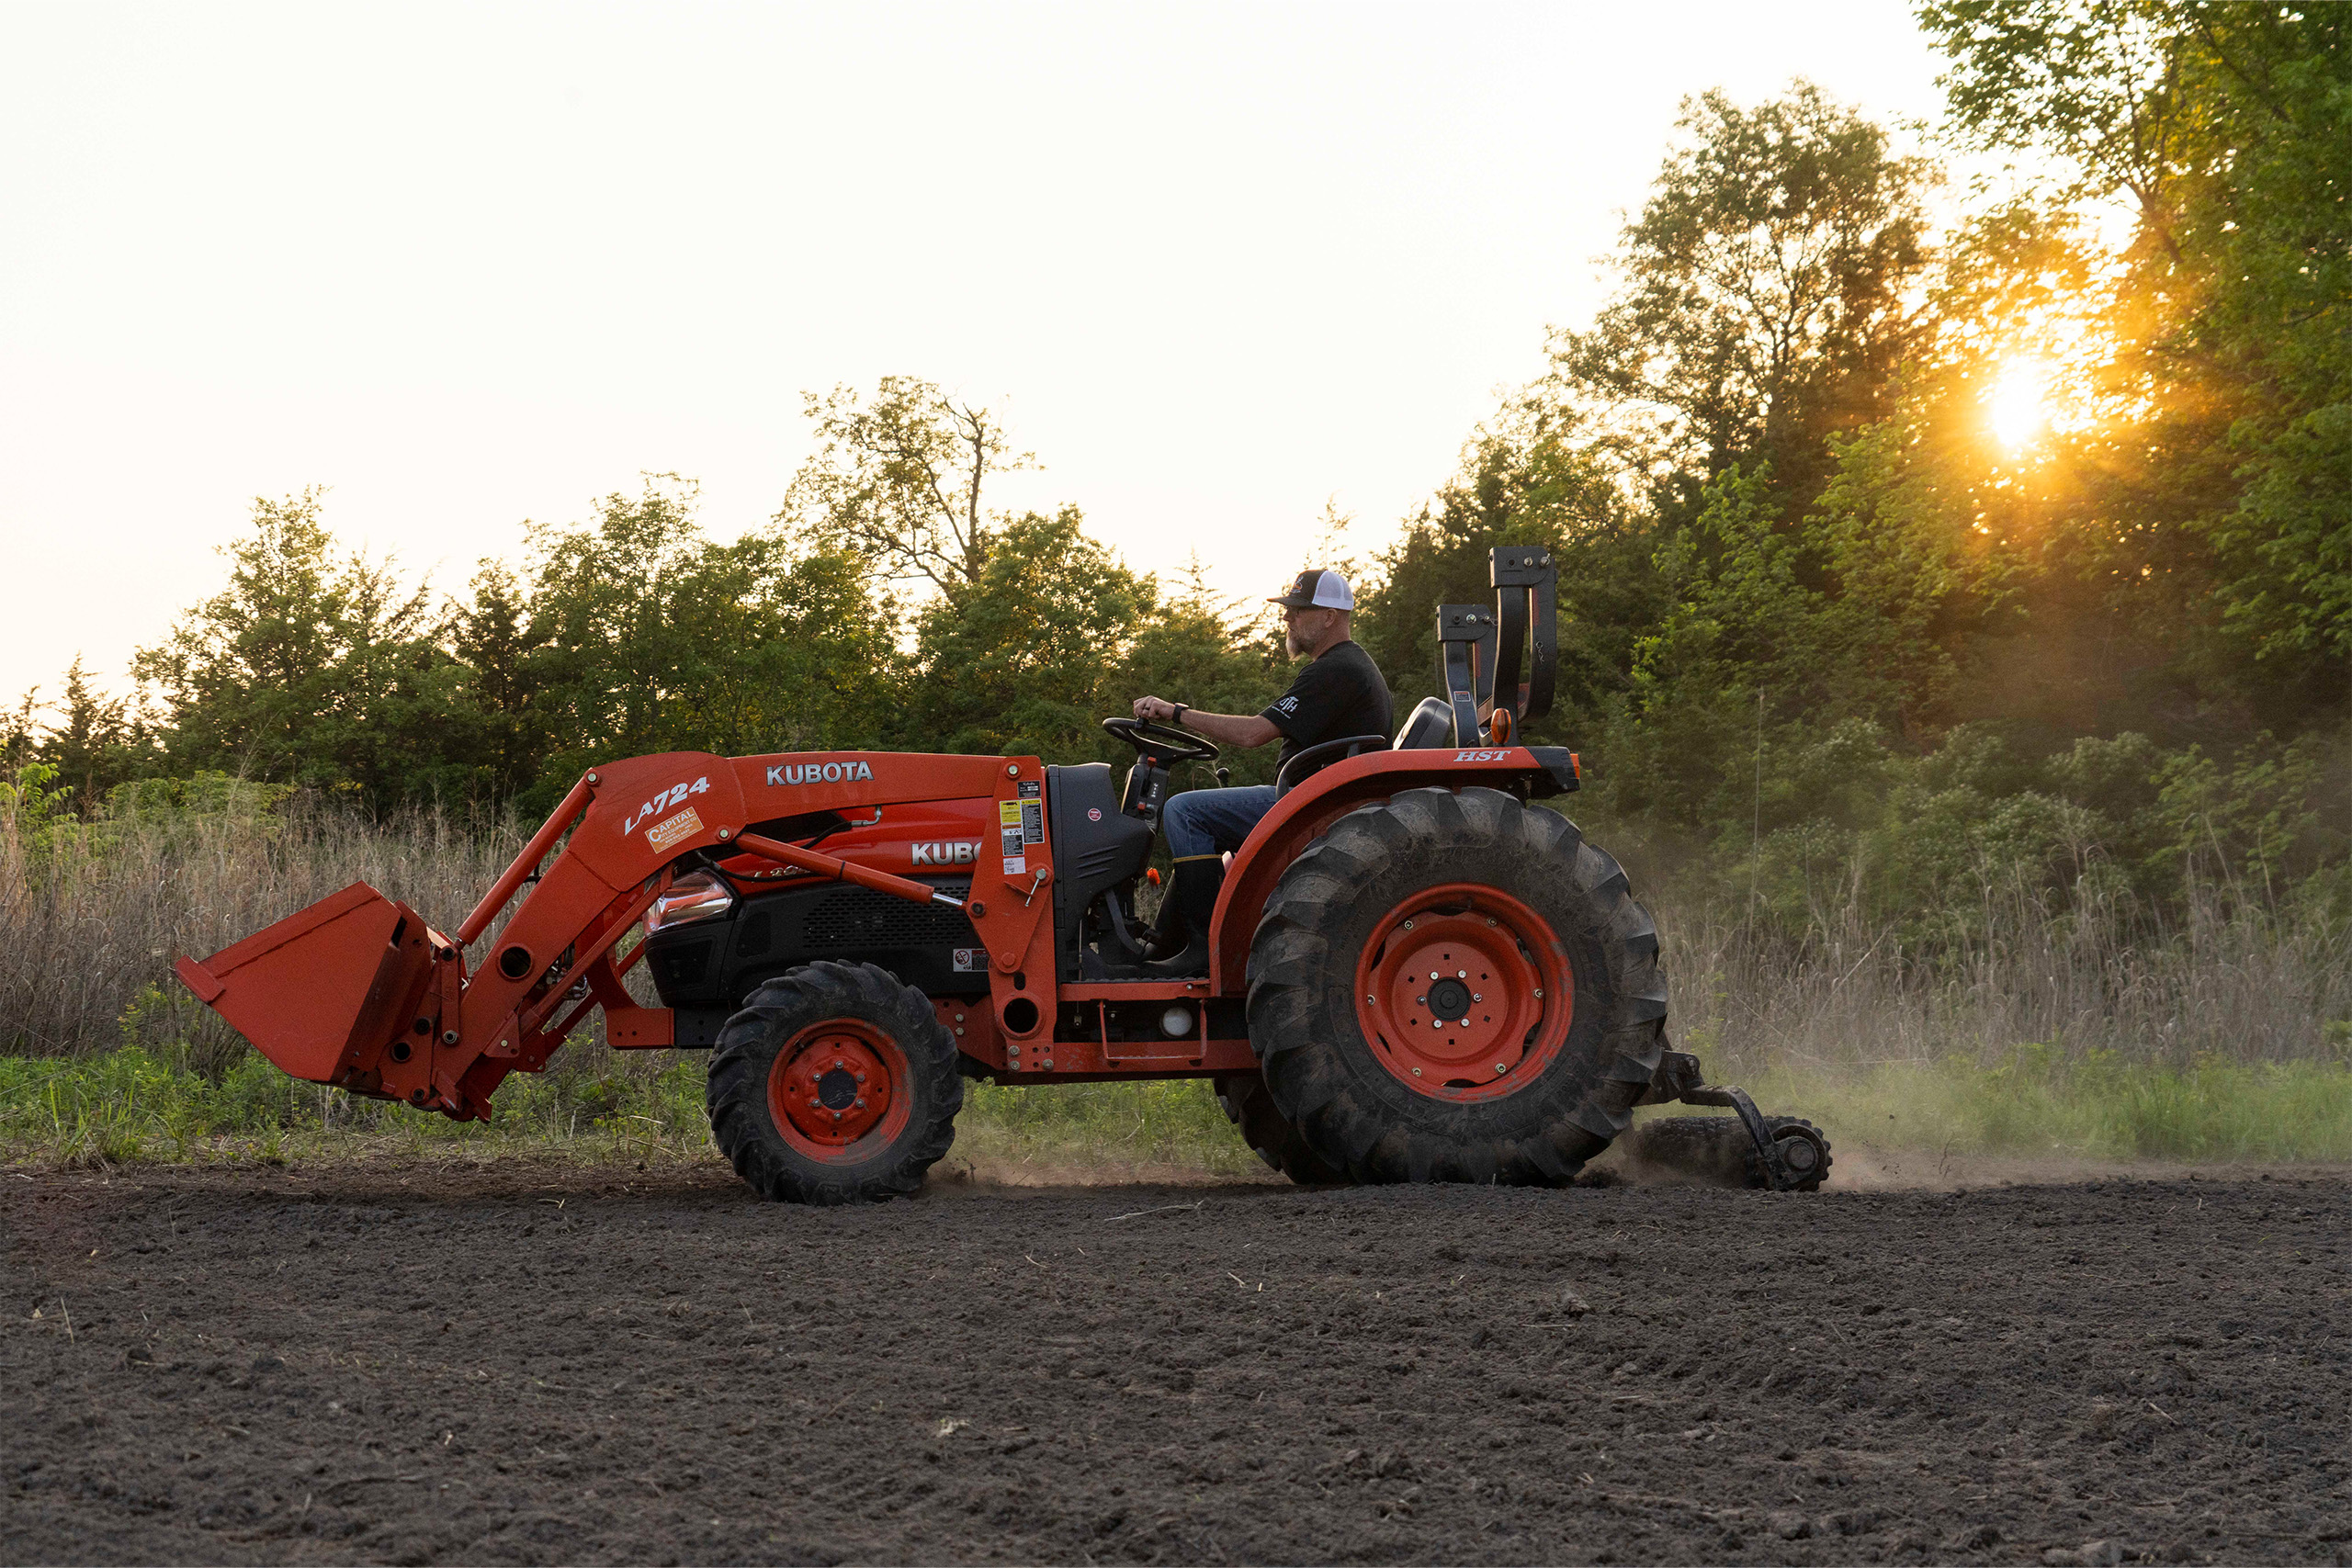
Choose the Right Spot for Your Tower
Where you place your blind tower can make or break your entire setup. Choose a level, firm area that offers both good visibility and natural cover. Avoid areas with excessive slope, soft ground, or erosion risks. Before anchoring, check with your local utility company to ensure you’re clear of underground lines — gas, electric, fiber optic cables, etc. Pro tip: stay at least 50 feet away from overhead utility lines.
Unpack and Inventory All Parts
Take your time during this phase. Open every box, locate each part listed in the manual, and match it to the diagram. Don’t skip this step. It’s easier to solve a missing bolt issue before you’re mid-build with half the structure standing. Make sure all hardware, braces, and tower sections are accounted for before you start assembly. If anything is missing or damaged, stop and contact customer support at info@rutted-up.com before proceeding.
Understand the Layout Before You Begin
Review the entire instruction manual to familiarize yourself with the sequence of assembly. Identify which parts are used first and which should be set aside for later. The tower’s components are engineered to be installed in a specific order for structural stability — skipping ahead can create major headaches or safety issues. Lay parts out in your work area in the order you’ll use them to streamline the process. If you’re using the 10ft extension kit, make sure you’re reviewing those specific steps before moving forward.
Don’t Try to Go Solo
This isn’t a solo mission. Assembling a Rutted-Up Blind tower—especially the 10-foot version—requires at least seven capable adults. The weight, height, and bulk of these structures mean assembly can be dangerous without the right number of helping hands. You’ll need people to hold legs in place, lift the partially assembled tower, steady cross braces, and assist with ladders or equipment if you’re using mechanical lifts. A blind tower is a serious piece of hardware, so treat it with the respect it deserves.
Use the Right Tools
Having a wrench or ratchet set on hand can make life easier and speed up the process. As you’re working through bolt after bolt, remember this golden rule: only hand-tighten everything at first. After everything is in place, you should go back and tighten fully. This ensures all parts align properly and reduces stress on key connection points. Over-tightening too soon can warp components or make final adjustments problematic.
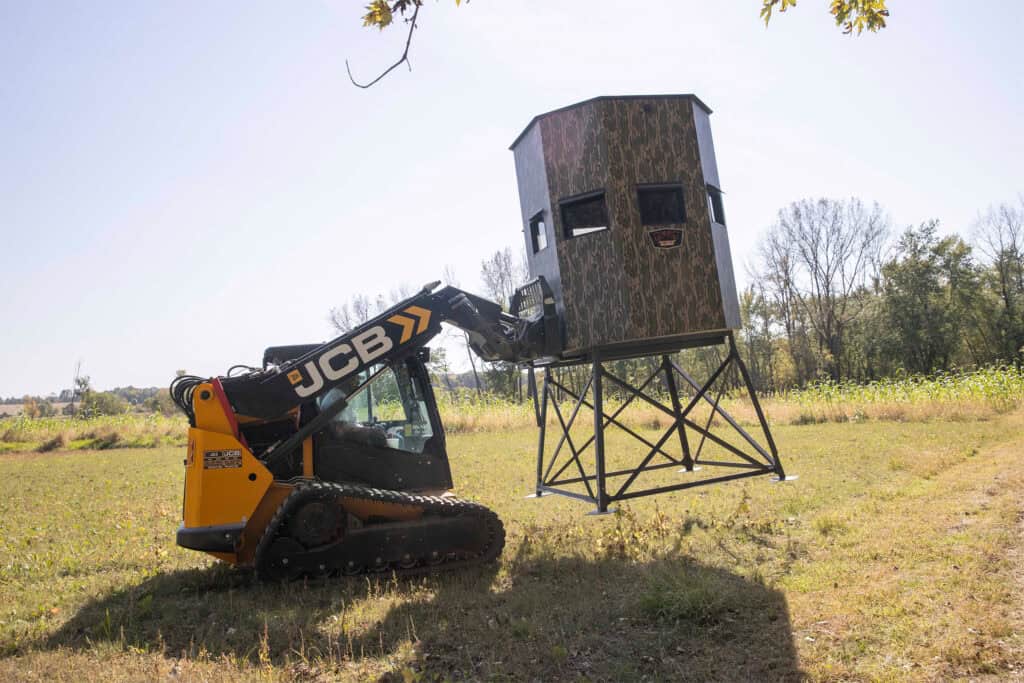
Secure the Platform Before Climbing
Once the platform is in place, pause before anyone starts climbing on it. This is the point where the structure may look complete but hasn’t yet reached full stability. Double-check that all bolts are tightened, braces are secure, and that the ladder is locked in properly. Use the “three-point contact” method when ascending—two hands and one foot or two feet and one hand on the ladder at all times. Do not climb or use the tower before final anchoring.
Double Check
Once the last bolt is tightened and everything looks complete, don’t pack up just yet. Walk through the entire tower and inspect every connection, brace, and bolt. Look for anything out of alignment, missing washers, or bolts that may have loosened as the frame settled. A second set of eyes could be a smart choice here in order to have a buddy triple-check the work. It takes just a minute or two to re-tighten a bolt… and that could prevent a fall or structural failure down the line.
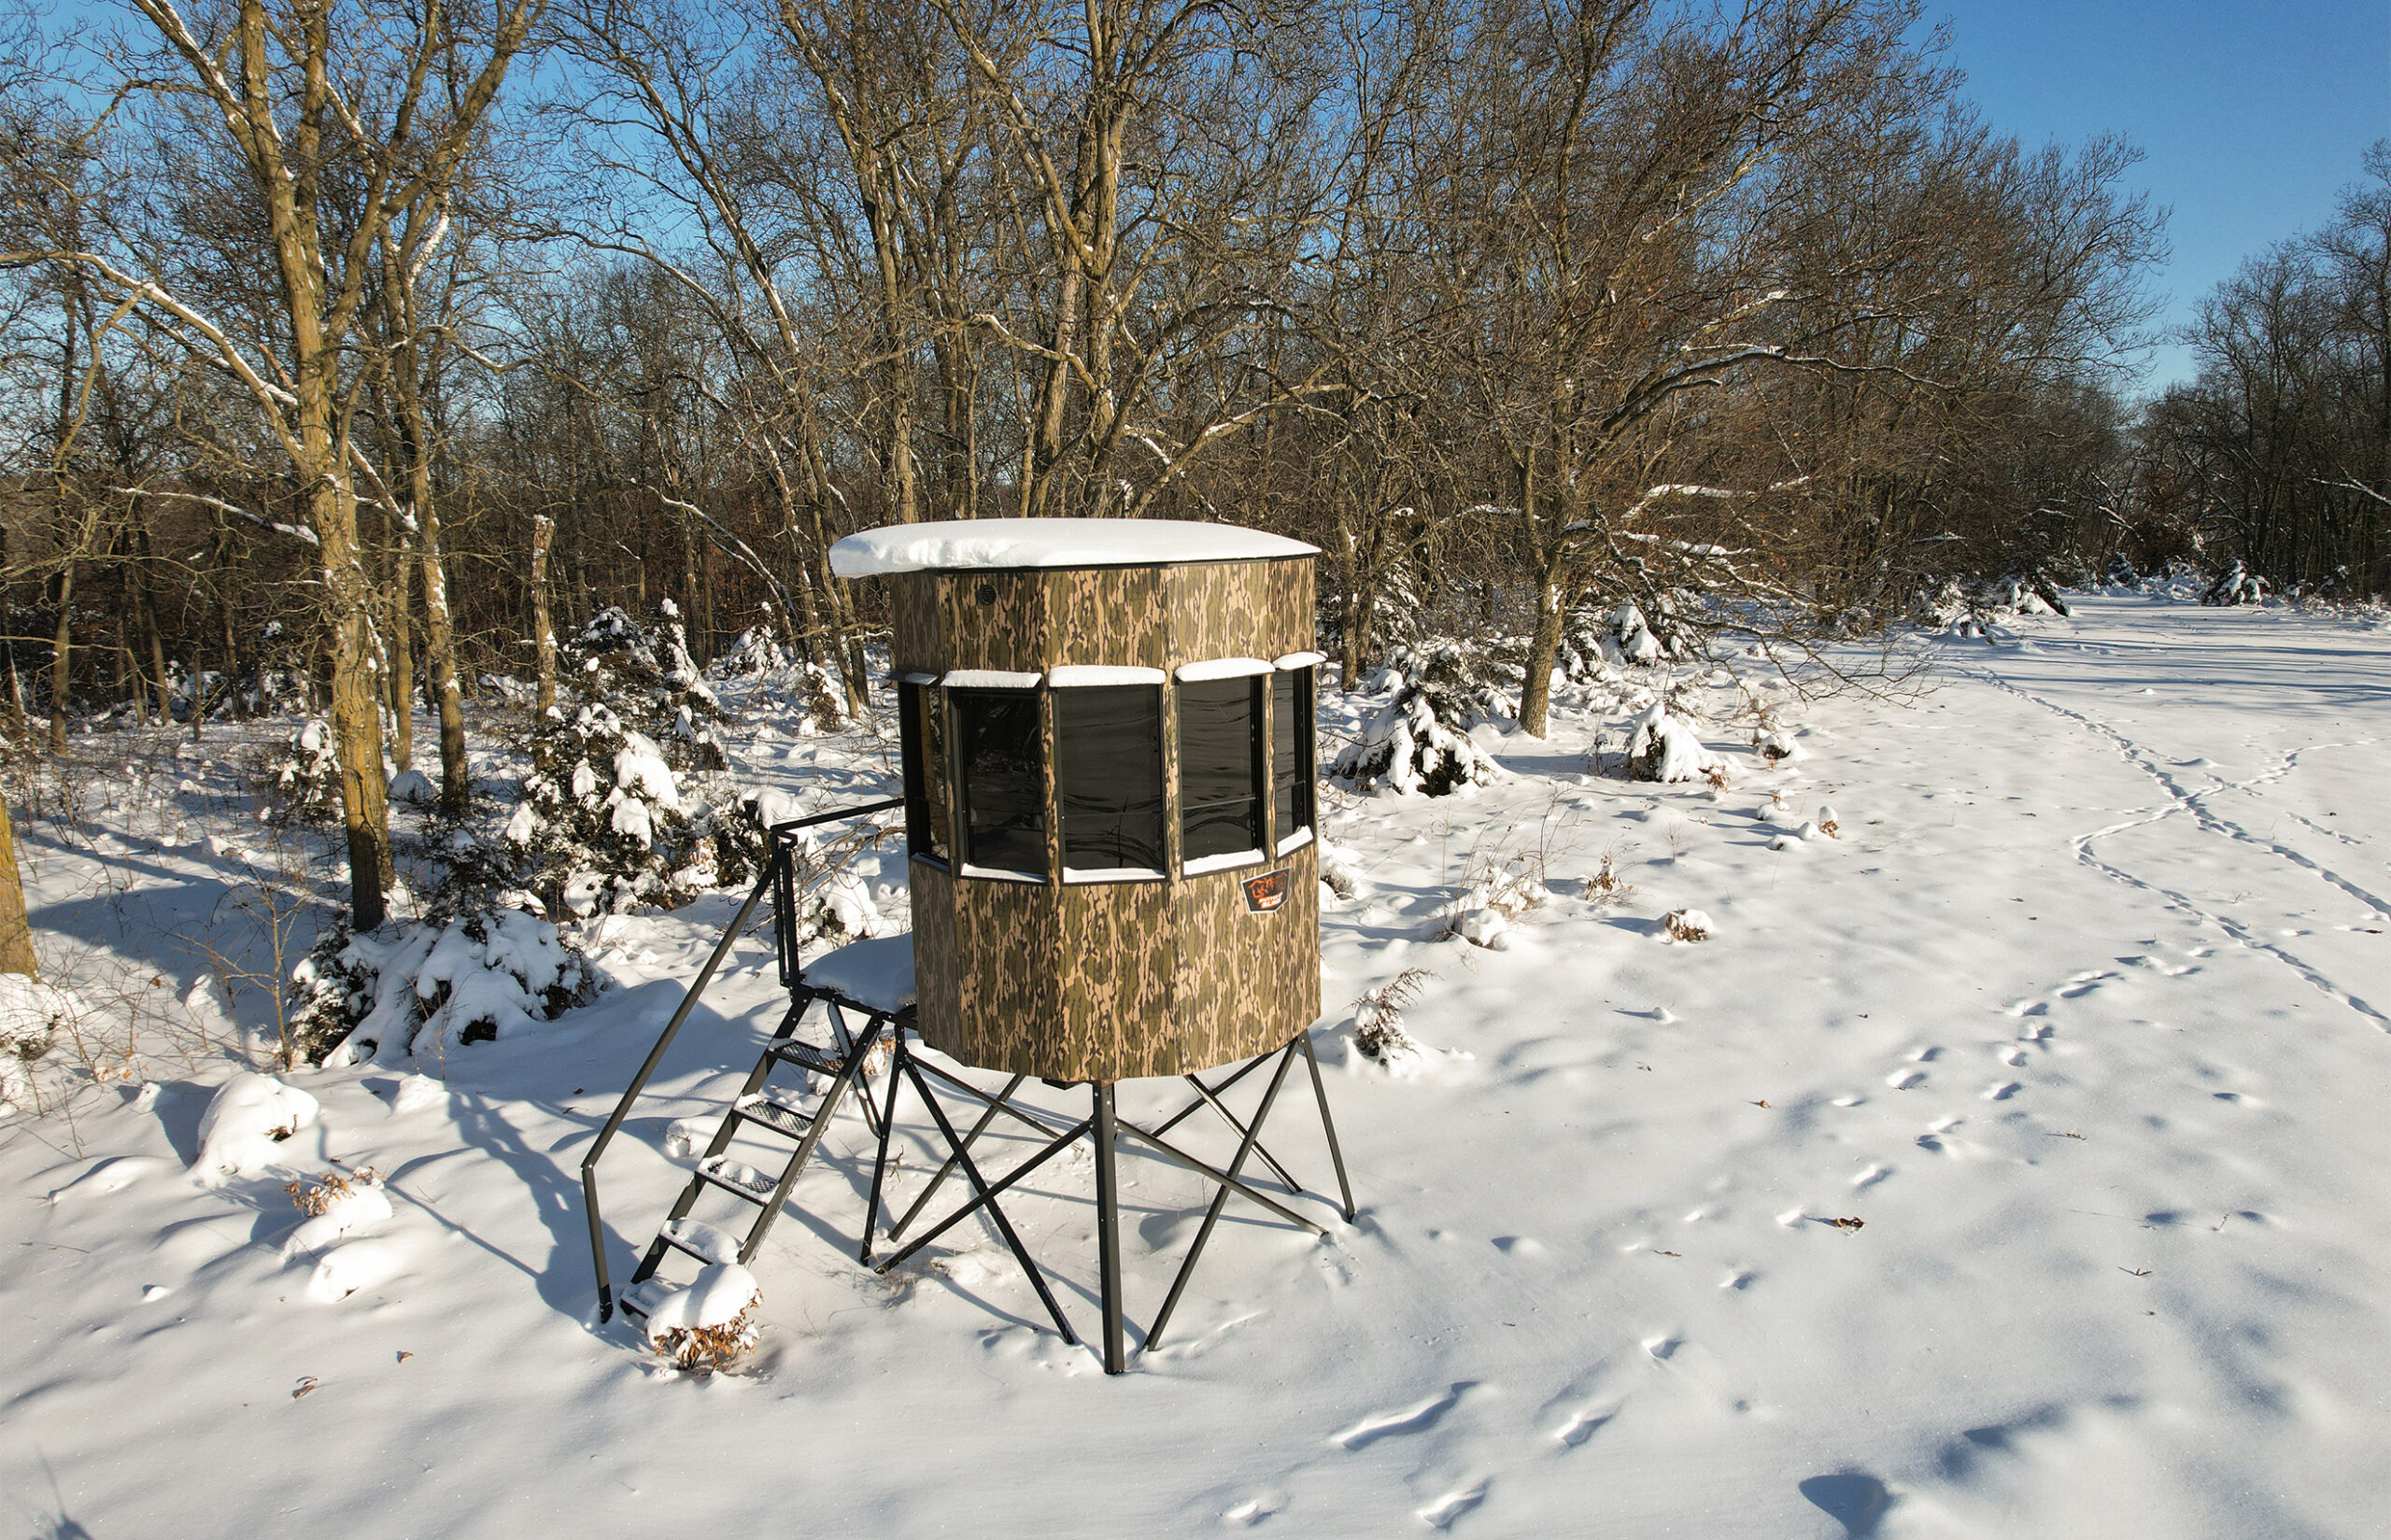
Inspect Before Every Hunt
Even after a perfect assembly, don’t underestimate nature’s ability to cause chaos. Before each use, give your tower a quick but thorough inspection. Look for erosion around the footpads, damage from storms or wildlife, rust on bolts, or loose hardware. Confirm that the ladder is solid and the anchor points are still locked in. A tower that sat stable all summer might shift slightly with rain, snow, or time. These small checks add up to major peace of mind when you’re 10 feet off the ground.
Know When to Call Customer Support
If anything feels off—or if a part is damaged, missing, or doesn’t seem to fit—pause and call support before forcing it. It’s not worth risking the integrity of your tower to in order to “make it work” before you have a real fix for the issue at hand. Email info@rutted-up.com with your questions and keep your Owner’s Manual handy when reaching out. We’re here to make sure your blind performs for the long haul.
Add-On Accessories for Comfort and Safety
Once your tower is rock solid, it’s time to level up your setup. Consider installing custom blind chairs for better posture during long sits, or upgrade with anti-fog rechargeable fans for climate control. Add gun rests, shelf hooks, and even a heater if you can (used safely and with proper ventilation). These extras don’t just increase comfort—they reduce movement, noise, and fatigue, helping you stay alert and ready for the perfect shot. When your blind feels like a second home, you’ll hunt better and stay alert and focused for longer.
Ready to Build Your Own Tower Setup?
With the right prep, help, and tools, assembling your Rutted-Up blind tower can be smooth, safe, and seriously rewarding when it’s time to hunt. Whether you’re gearing up for your first season or upgrading to a better setup, there’s no substitute for rock-solid reliability in the field.
Don’t settle for second best. Rutted-Up Blinds and Towers are designed by hunters, for hunters — engineered for strength, stealth, and season-after-season performance. Pair your favorite blind model with a 5’ or 10’ tower and experience the difference for yourself.
Shop Rutted-Up Blinds & Towers now and get your setup ready before the season hits full swing.
